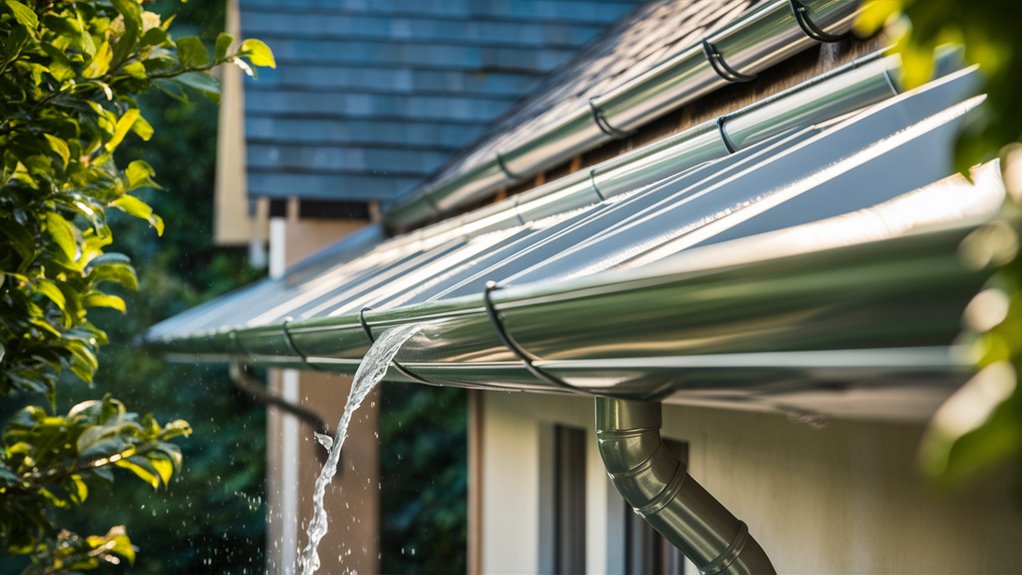
What Are Seamless Gutters
On the verge of upgrading your home’s drainage system? Discover how seamless gutters could transform your approach to water damage protection.
What Are Seamless Gutters Read More »
On the verge of upgrading your home’s drainage system? Discover how seamless gutters could transform your approach to water damage protection.
What Are Seamless Gutters Read More »
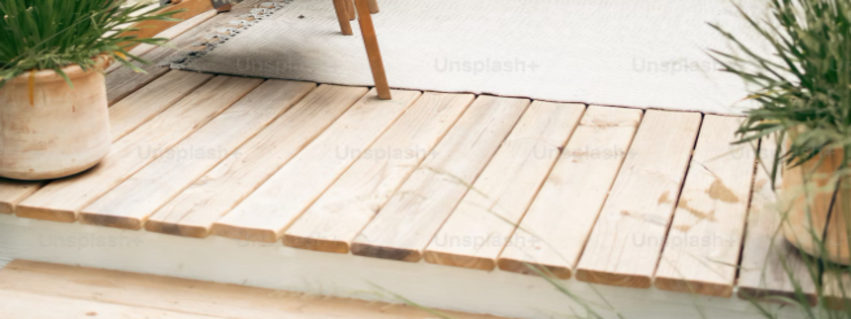
Owning your own home comes with many advantages, but it also comes with many responsibilities. Maintaining your composite decking is one of them. The best way to clean composite decking is by pressure washing. Pressure washing is an effective way to remove dirt and stains from your garden decking. This powerful cleaning technique can bring
Best Way to Clean Composite Decking Read More »
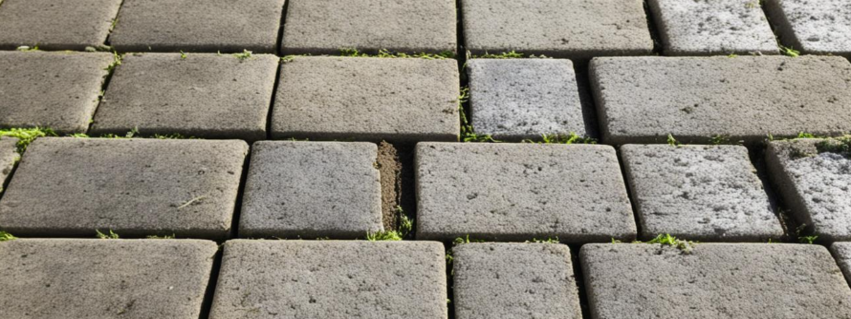
Block paving is a popular choice for driveways, patios, and paths, known for its durability and attractive appearance. However, dirt, moss, weeds, and loose materials can gather, creating an unsightly and potentially hazardous surface. In this article, we’ll show you the proper techniques and equipment for effective block paving cleaning, so you can get the
Can You Pressure Wash Block Paving? Read More »
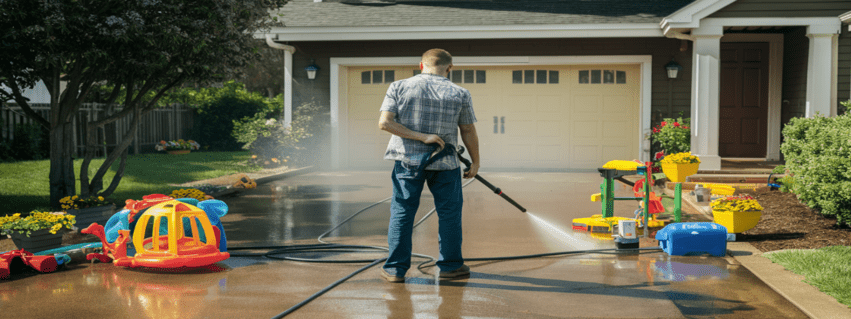
We all know that over time, patios, driveways, composite decking, and other exterior surfaces can attract a build-up of dirt and grime. Apart from your home not looking its best, these build-ups can contribute towards a danger zone and can cause irreversible damage to your property. This guide will help you prepare your home for
How to Prepare Your Home for Pressure Washing Read More »